How to setup a chatbot using Zoho SalesIQ?
In this blog , we explore the process of setting up Zoho SalesIQ chatbot.
Navigate to the below link and choose the “Free” option
https://www.zoho.com/salesiq/pricing.html
Zoho offers a 15 day (no credit card required) trial. We will be using this option for our setup.
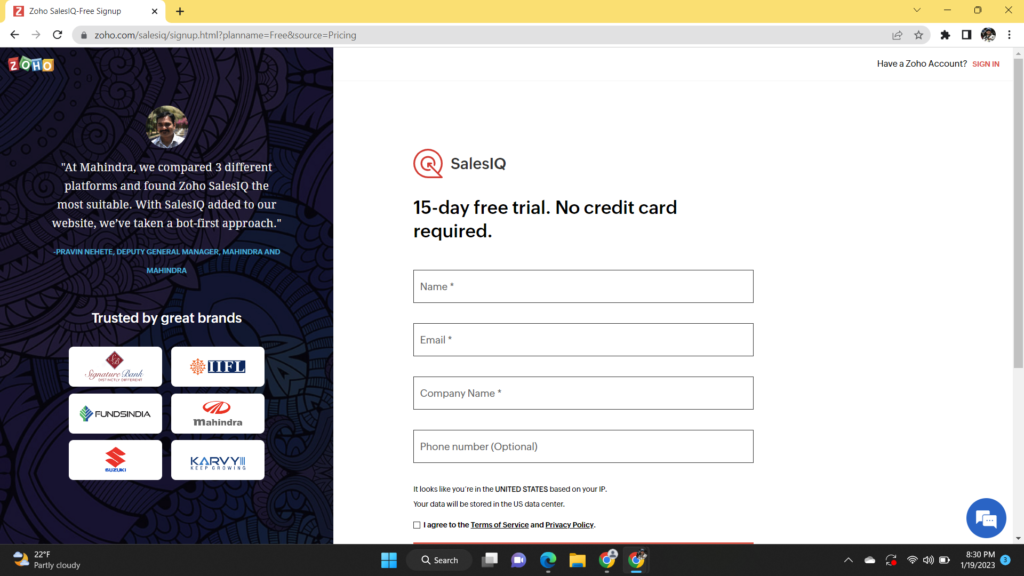
Provide the basic information needed such as Name, Email, Company Name etc. to create your account.
You can also sign-in using Google or LinkedIn.
Once account is created, you are navigated to the Liveview page which is essentially the dashboard where you can configure your chatbot, monitor visitors and setup Resources
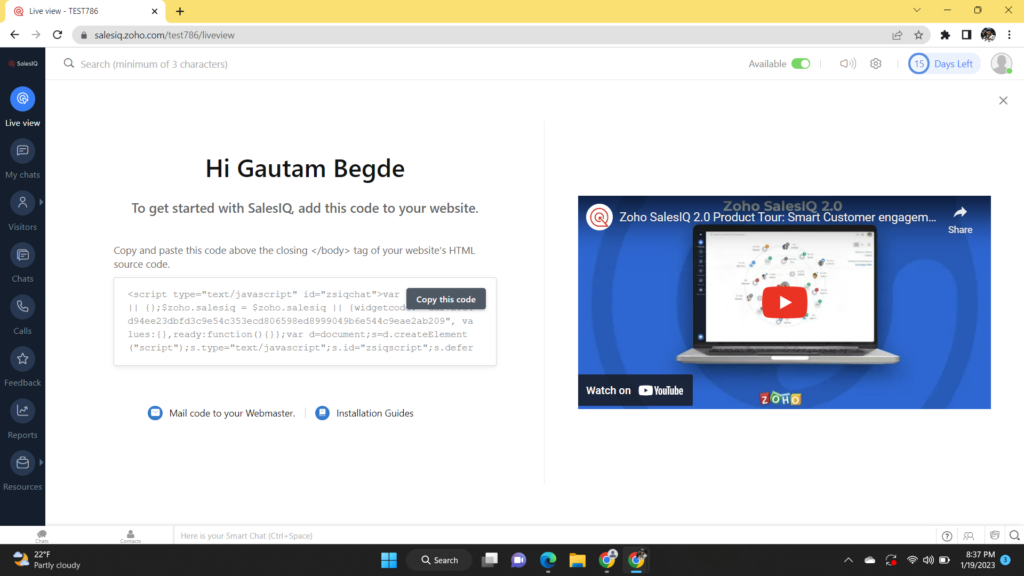
To get started with the setup, you need to add provided code to your website. The instructions provided for this are fairly straightforward. You are also provided installation guides to help you install the chatbot on your platform.
Once these steps are completed, you can see the skeleton version of the chatbot available on the website as below:

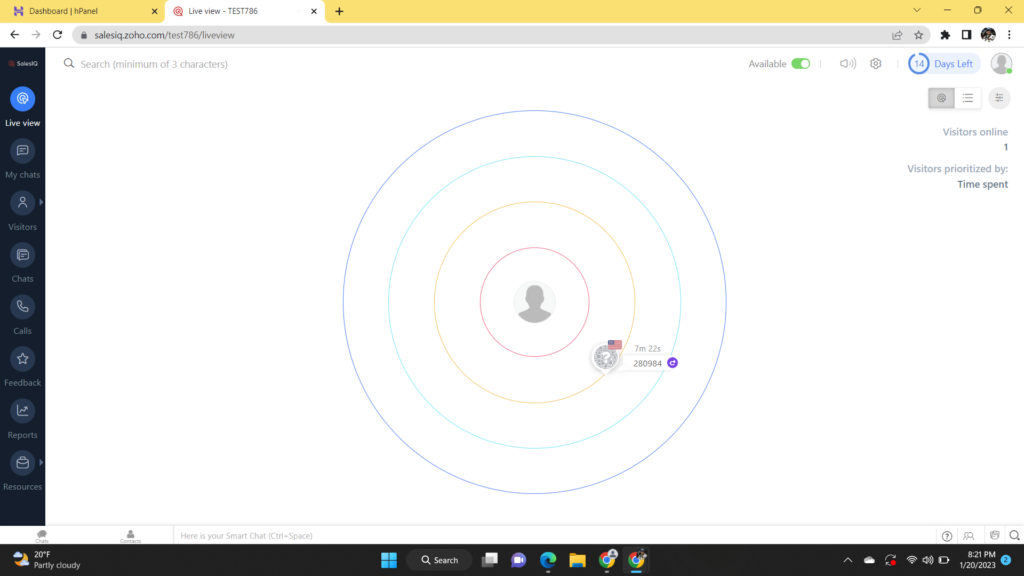
You can return to the LiveView page to setup the bot further.
You will notice that the LiveView Page now shows the visitors currently on your website
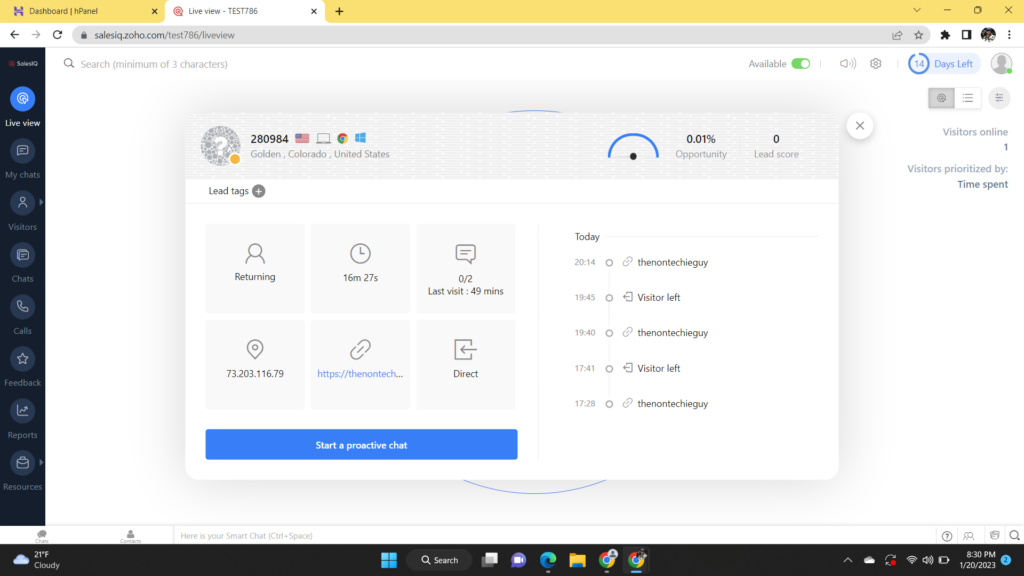
The dashboard allows you to proactively reach out to users on your website by clicking on the user and clicking on “Proactive Chat” button
You have the option to setup the BOT as Zobot or Answer Bot.
The basic difference between the two bot offerings is that Zobot needs to be built with a little bit of coding or with a structured flow of responses in order to reply to prospects and customers. On the other hand, Answer Bot just requires you to configure it, and then it takes the data already available in the Resources module to reply to the prospects and customers.
Navigation: Settings-> BOT-> Zobot OR Answer Bot
For this blog, we will setup a “Zobot” chatbot:
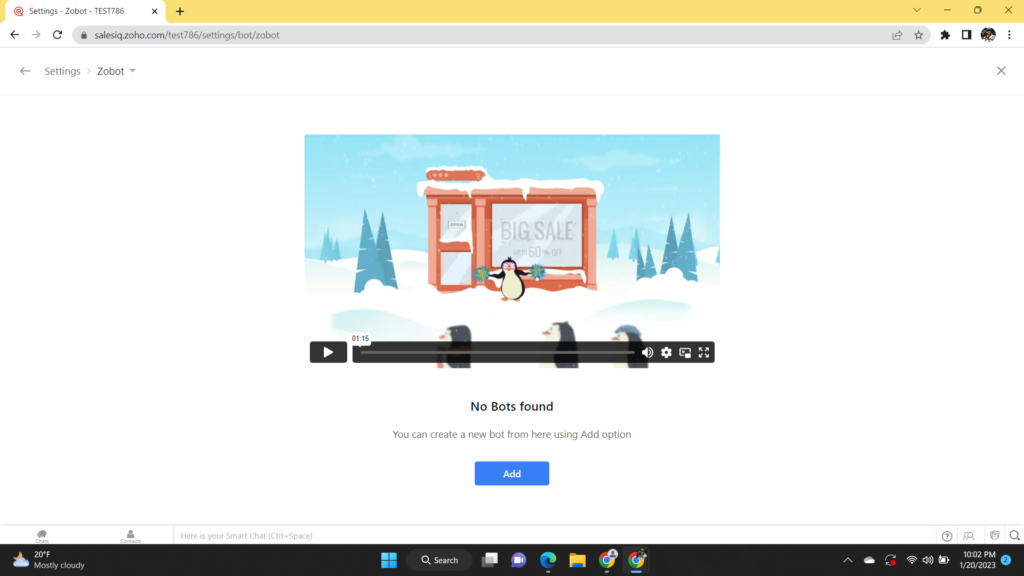
Click “Add” to setup Chatbot
Provide following information:
BOT BUILDER
- Name your Bot:
- Choose your Platform: Here you have option to choose one of the below platforms:
- SalesIQ Platforms
- Third-Party Platforms
- Vendor Platforms
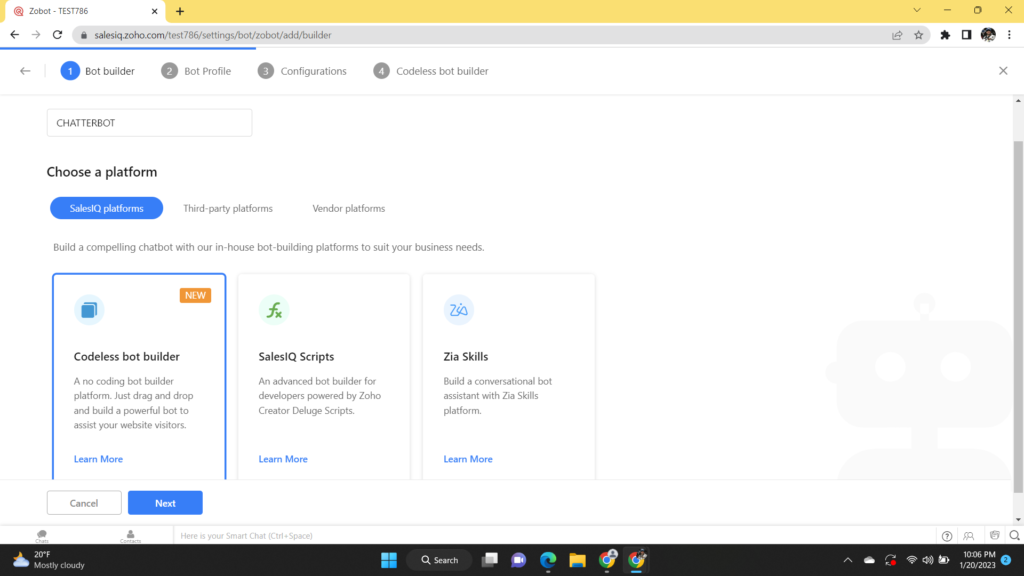
For our demo, we will choose the platform as “SalesIQ Platform” and we will select the “Codeless Bot Builder”
Click Next to navigate to BOT Profile page
BOT Profile Page
On this page, we need to provide the following information:
- Describe your Bot:
- Choose Brand:
- Choose bot working hours
Click Next to navigate to Configurations Page
Configurations Page
On this page, we need to provide the following information:
- Choose BOT Audience: All Visitors vs Custom Visitors
- When Should bot initiate actions?
- Response Interval
- Chat Inactivity
- Operator Hand-Off
- Forward Message
- Actions
Click “Create” to navigate to Codeless BOT Builder UI
As a part of this demo, we will setup a BOT used to help users with AWS Certification training. For the purpose of the demo, the bot will perform following actions:
Contact the user when they arrive at the website or click on the chat widget
- Greet the user
- Provide user options to select one of the 3 certifications:
- AWS Certified Cloud Practitioner
- AWS Certified Developer Associate
- AWS Certified Solutions Architect- Associate
- Once user selects one of the 3 options above, BOT navigates user to the exam specific response block.
- On this block, user is provided options specific to the exam
- Once user selects one of the options above, they are provided with an appropriate link which they can click and view more details
We see the below UI builder screen:
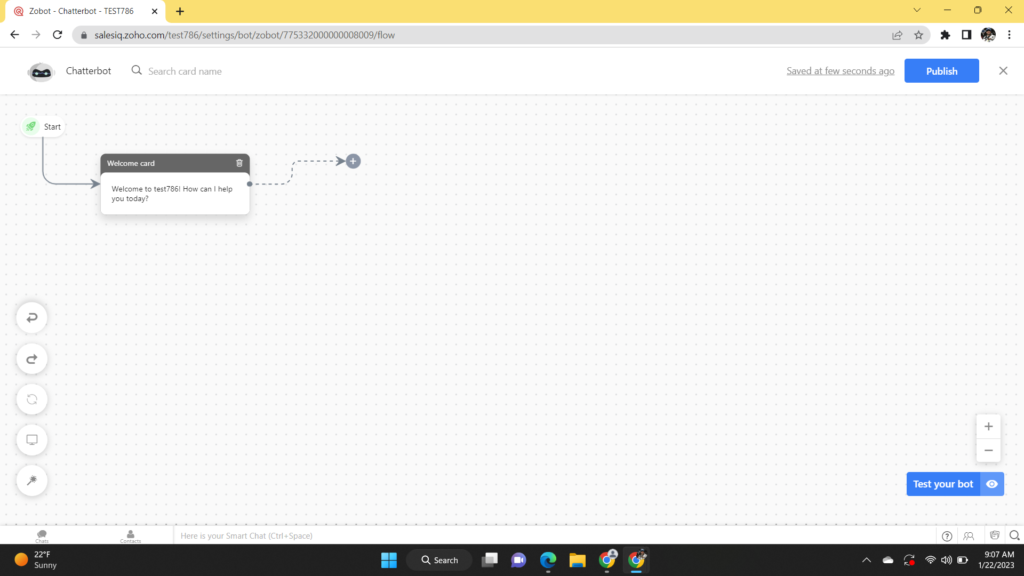
We will perform following actions:
- Delete the “Welcome Card” by clicking on “Delete” icon
- Click “+” Button- Once you click the “+” button, we get options to add various blocks such as “Response Blocks”, “Input Blocks”, “Action Blocks”, “End Blocks”, “Data Blocks” and “Integration Blocks”
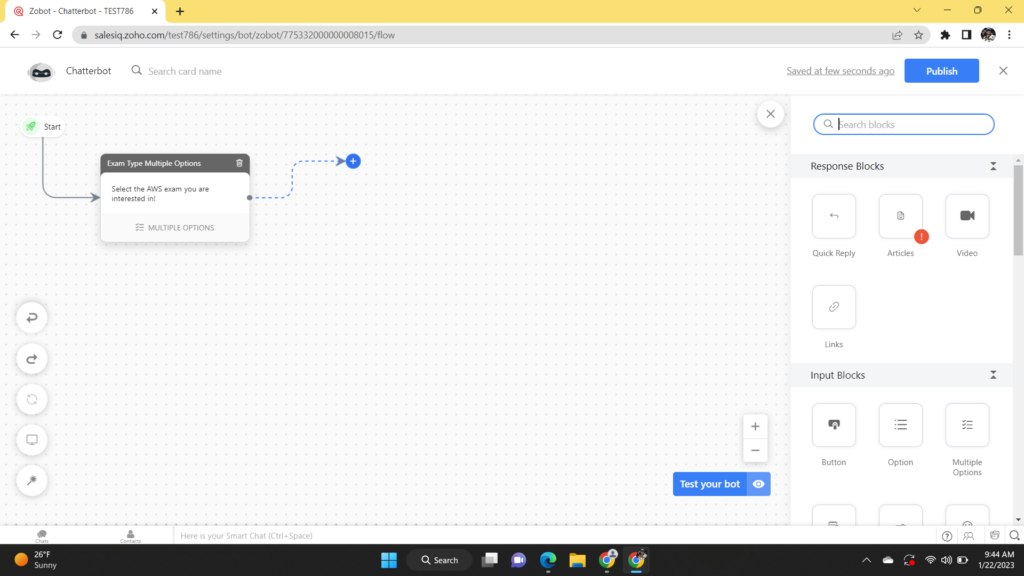
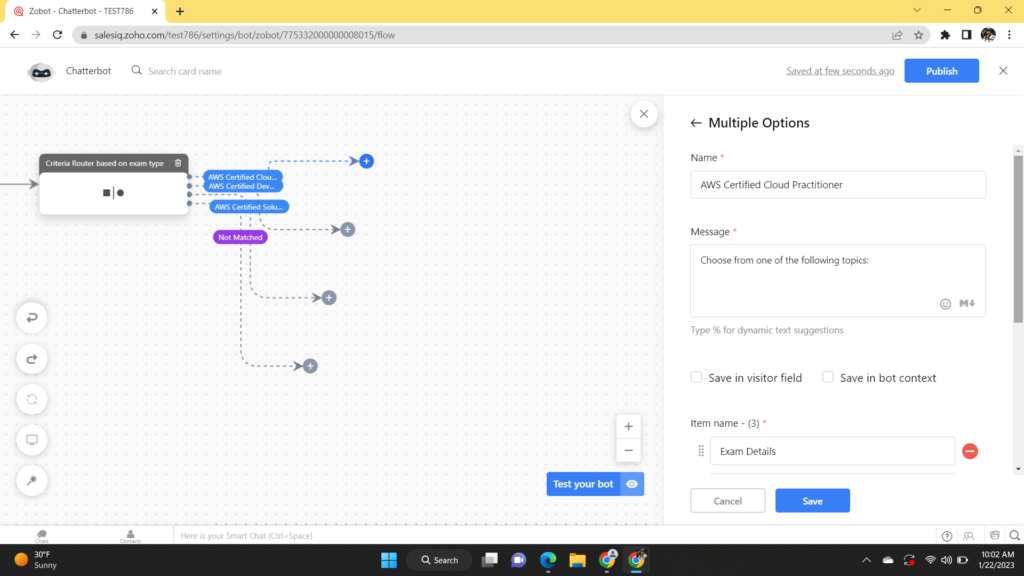
- Select “Multiple Options” from Input Block
- Provide information on the Multiple Options page as below
- Name: Exam Type Multiple Options
- Message: Select the AWS exam you are interested in!
- Click “Save Box Context” and provide field name as “Exam_Type”
- Provide Item values (these should correspond to the exam types)
- Select Min Selection as 1 and Max Selection as 3 and Click “Save”
The Code Builder UI will now look as below:
The next part of the setup involves navigating user to the relevant chat page based on the exam type selected. For this, we need to select “Criteria Router” from Action Blocks.
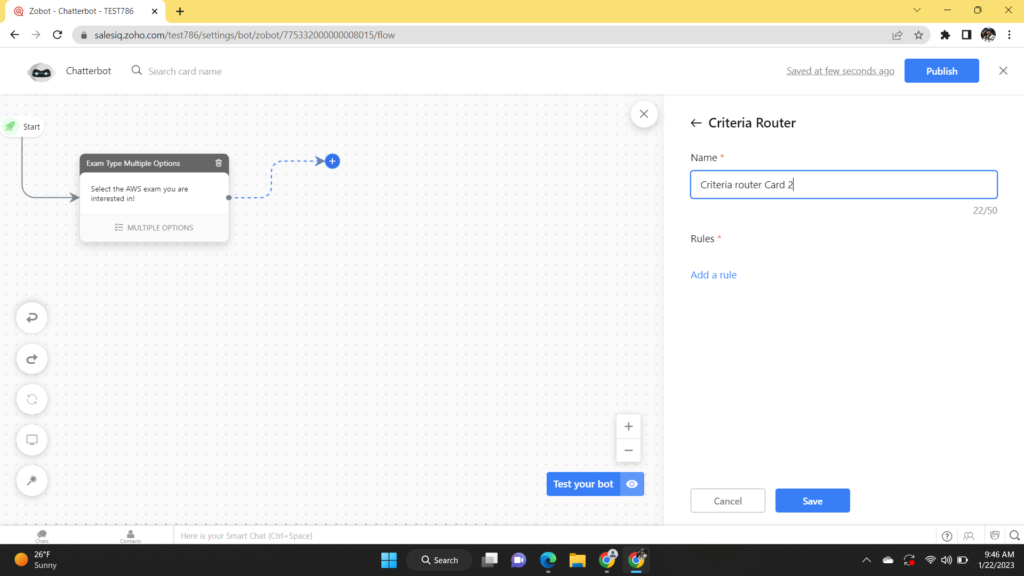
On the Criteria Router Page, we need to add rules to navigate user to the required chat page based on the exam_type selected.
Provide following information:
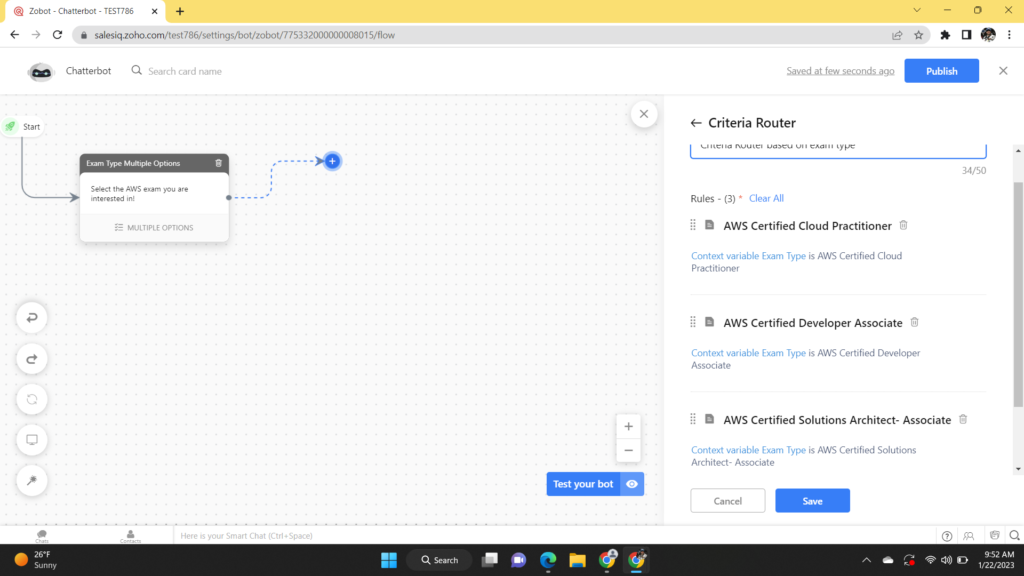
Name: Criteria Router based on exam type
Rules- Click “Add a rule”
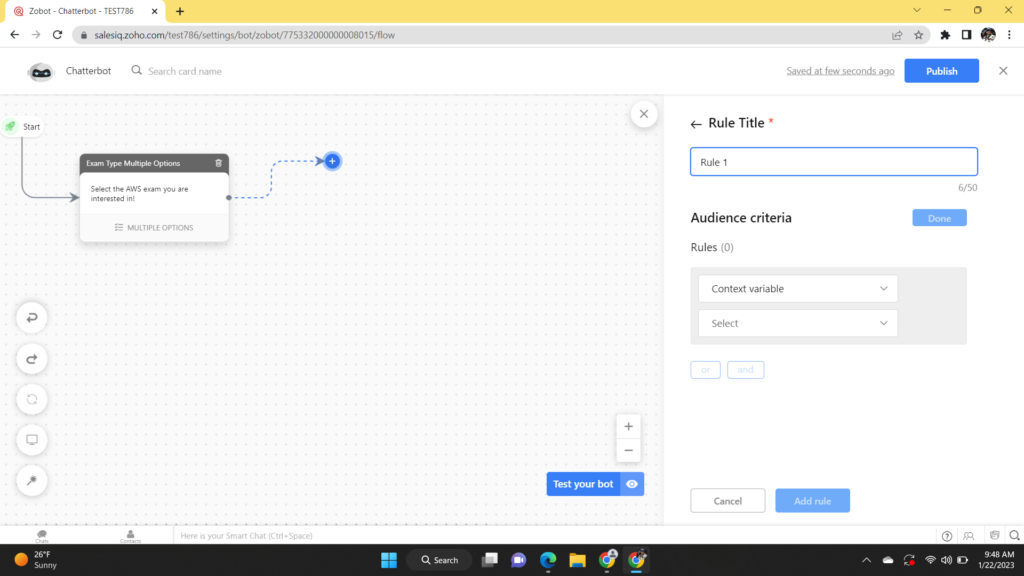
Create 3 rules based on Exam_Type Field
Rule 1
Rule Title 1: AWS Certified Cloud Practitioner
Context Variable: Exam_Type
Context Variable Value: AWS Certified Cloud Practitioner
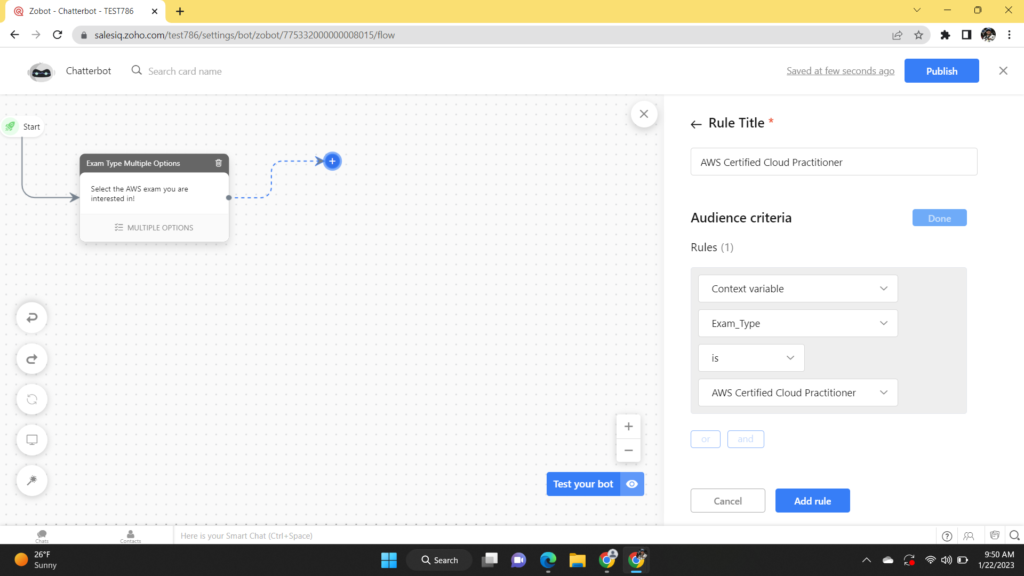
Click “Add rule”
Create similar rules for the other 2 certifications. You will see 3 rules created as below:
Click Save. You will notice that UI Builder will be updated as below:
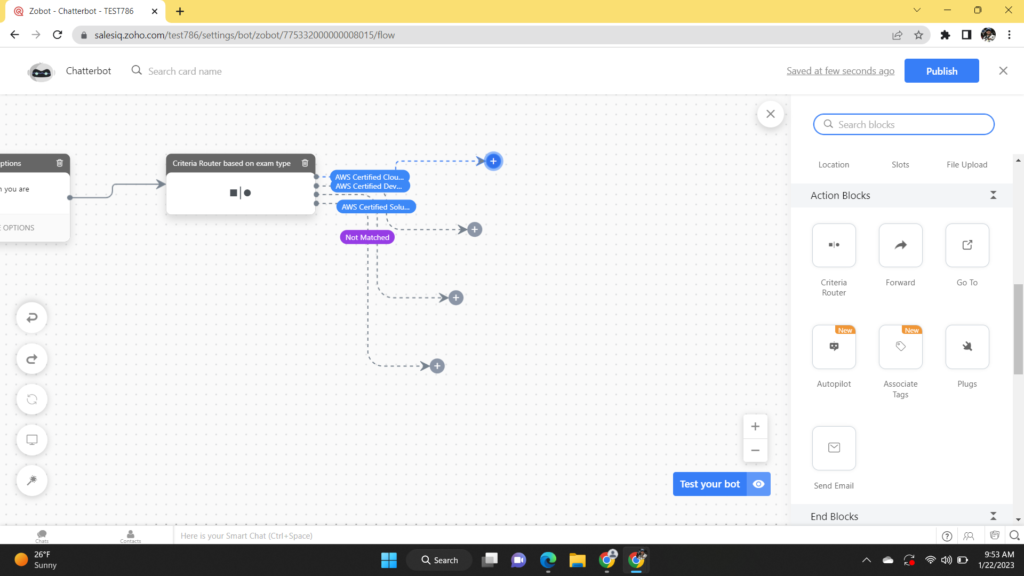
Click Save. You will notice that UI Builder will be updated as below:
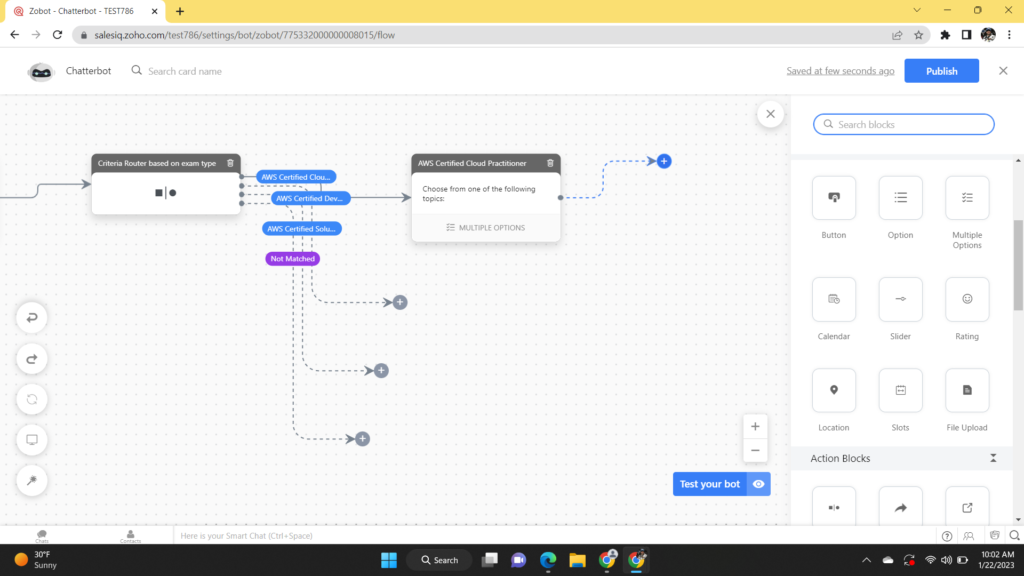
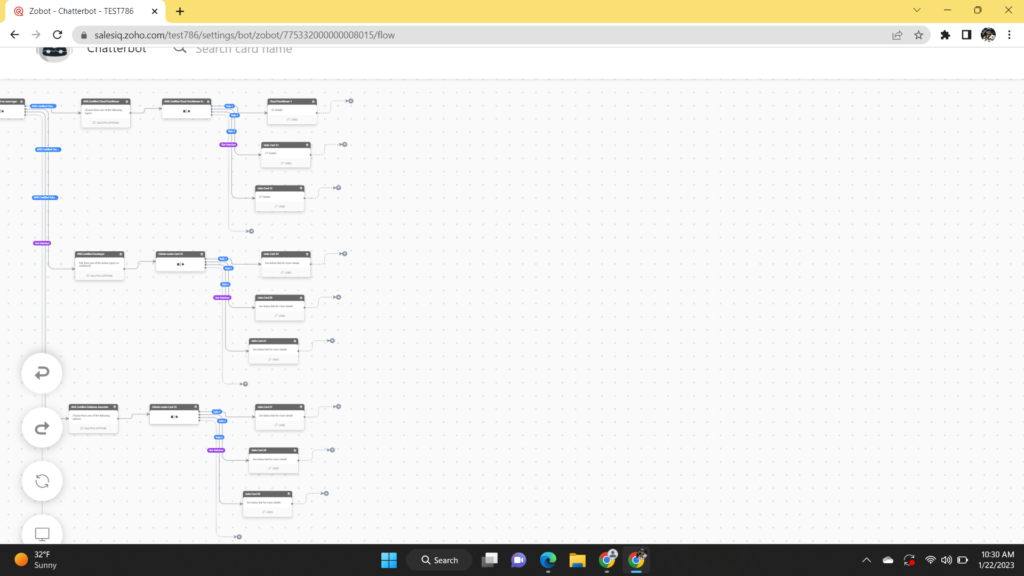
The updated BOT Builder UI is now updated as below:
Once you are ready, you can publish the bot on your website by clicking the “Publish” button
I will be keep this bot live on my website for some time. If you do end up interacting with this bot, please share your feedback in the comments section.