How to setup a chatbot using MobileMonkey?
MobileMonkey claims itself to be an “All-in-One Platform for Marketing Lead Generation and Sales Outreach Automation to Close More Deals”. One of the tools that they provide for this is a webchat which allows companies and brands to generate leads and interact more efficiently with its core customer base.
In this blog, I will try to setup a chatbot using MobileMonkey and document the steps I followed.
MobileMonkey provides a free 14-day trial (with no credit card needed). Sign-up using the link below
https://app.mobilemonkey.com/signup

After sign-up, the user is directed to below home page:

Click on “+ Create one now!” button as shown in the above page

Click on “Web Chat” under the Inbound Lead Capture section.
You will notice that MobileMonkey offers several template categories to start chat bot setup. These are as below:
- Sales Outreach
- Lead Qualification
- Appointment Booking
- List Building
- Marketing
This category of templates is inline with MobileMonkey’s intention of using webchat as a tool to capture prospective leads.
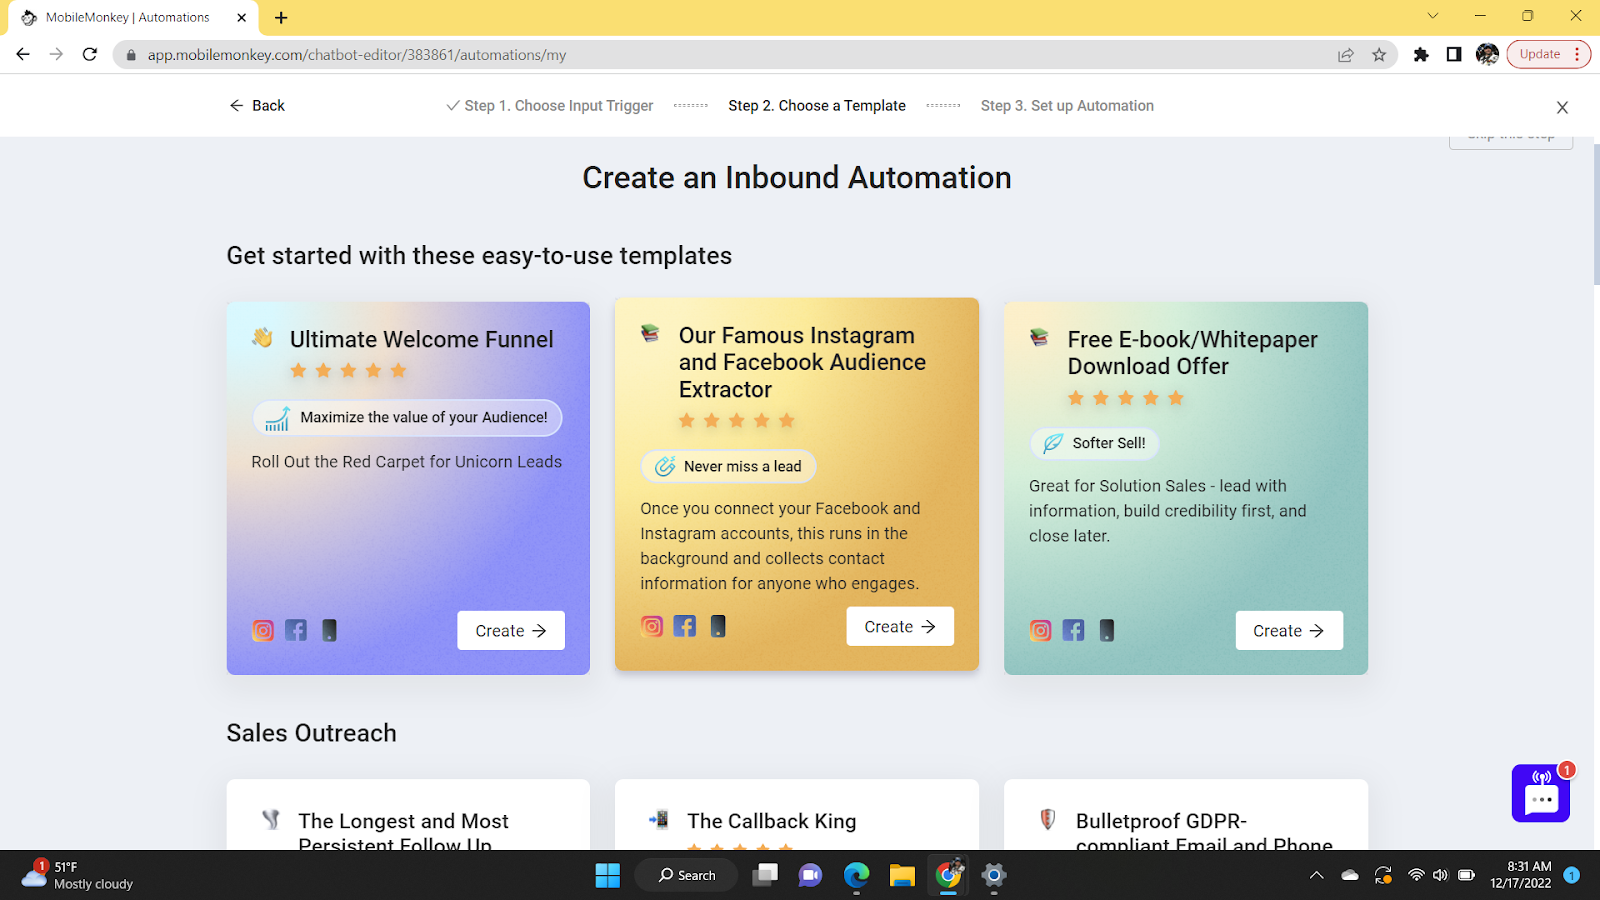
Choose “Our Famous Instagram and Facebook Audience Extractor” and click “Create”. It will navigate you to page where you can provide information under “Input Trigger Data Collection:

I kept the default settings (there is an option to change this at a later stage) and proceeded by clicking the “Lets Go” button. I was navigated to a configuration page as below:
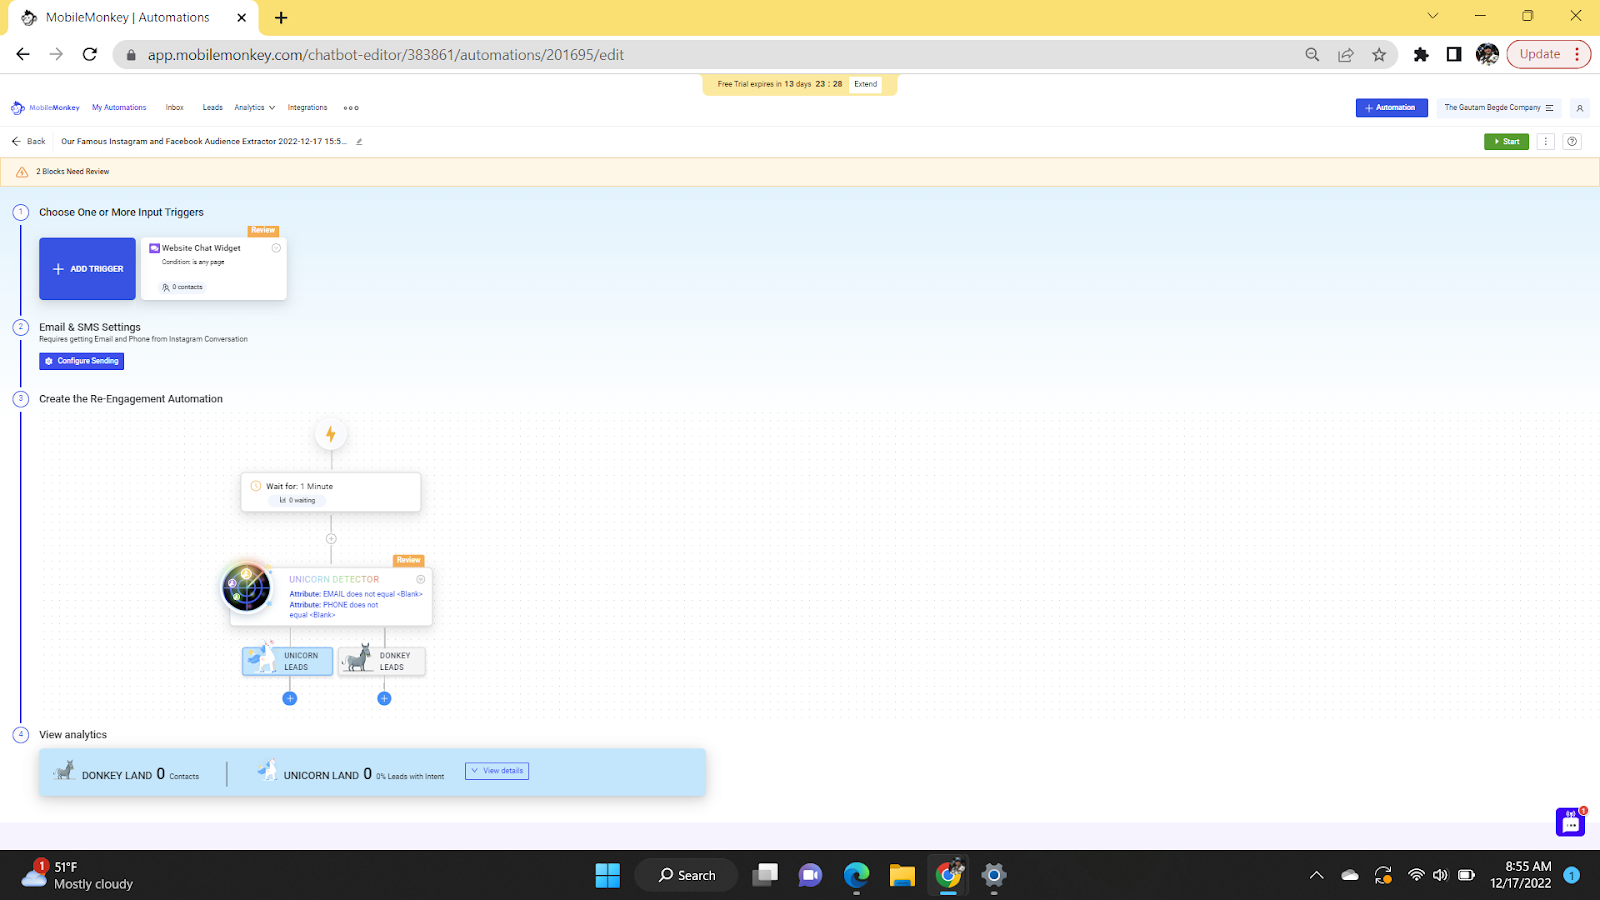
On this section, user is required to provided below information:
- Choose One or More Trigger Inputs
Click “+Add Trigger” .
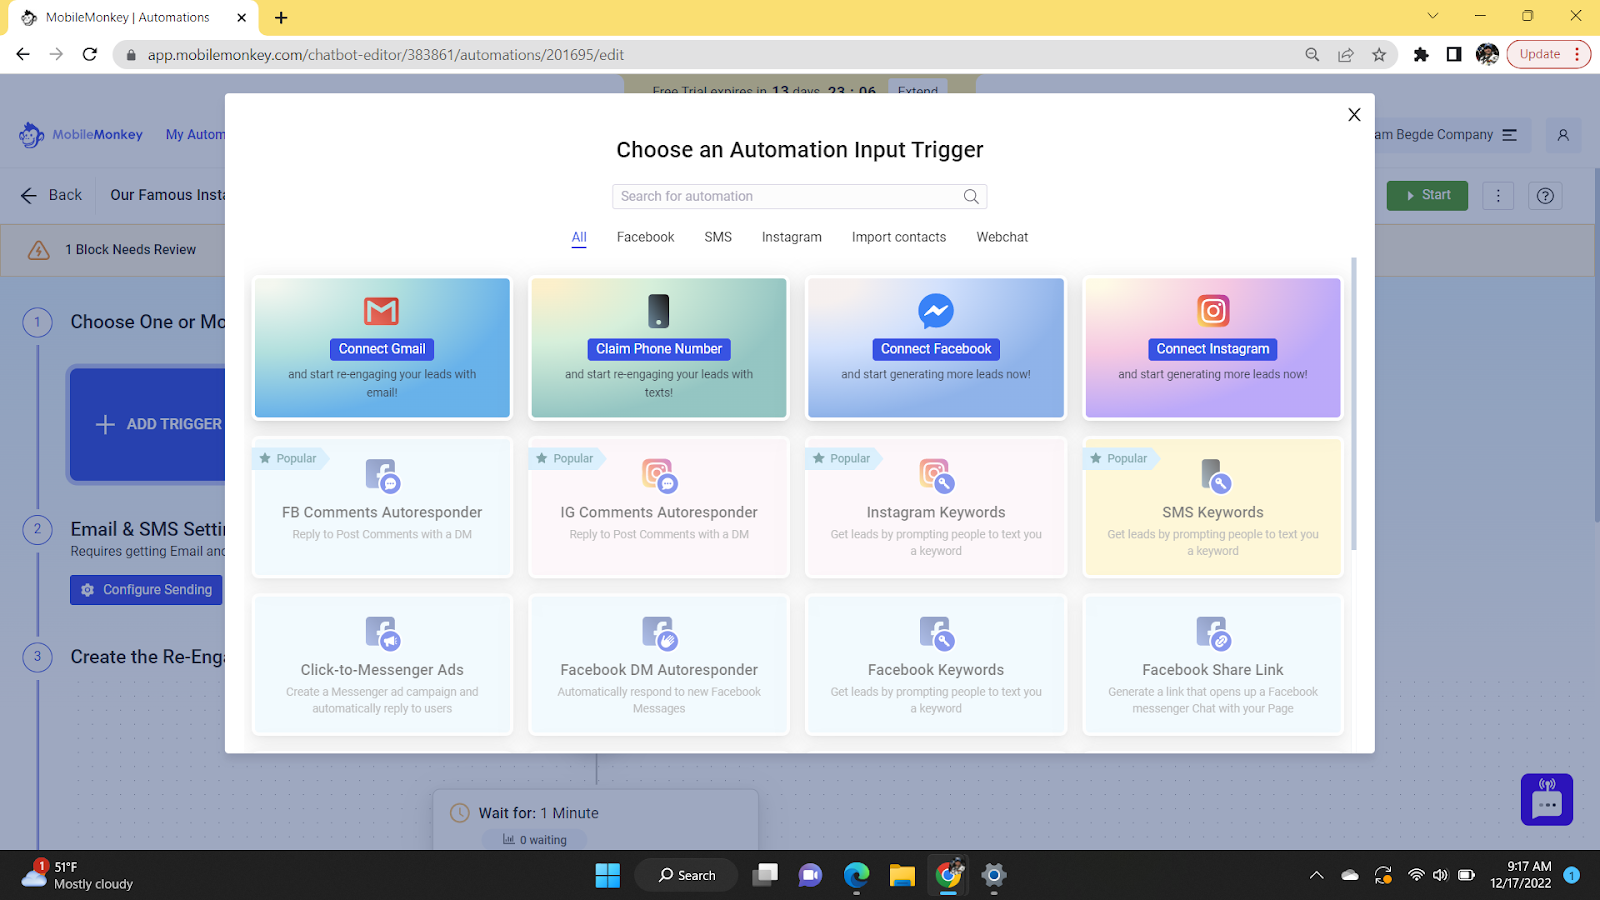
Here is the user is offered several Automation Input Triggers under various sections such as Facebook, SMS, Instagram, Import Contacts and Web Chat
For the purpose of this demo, we will select WebChat
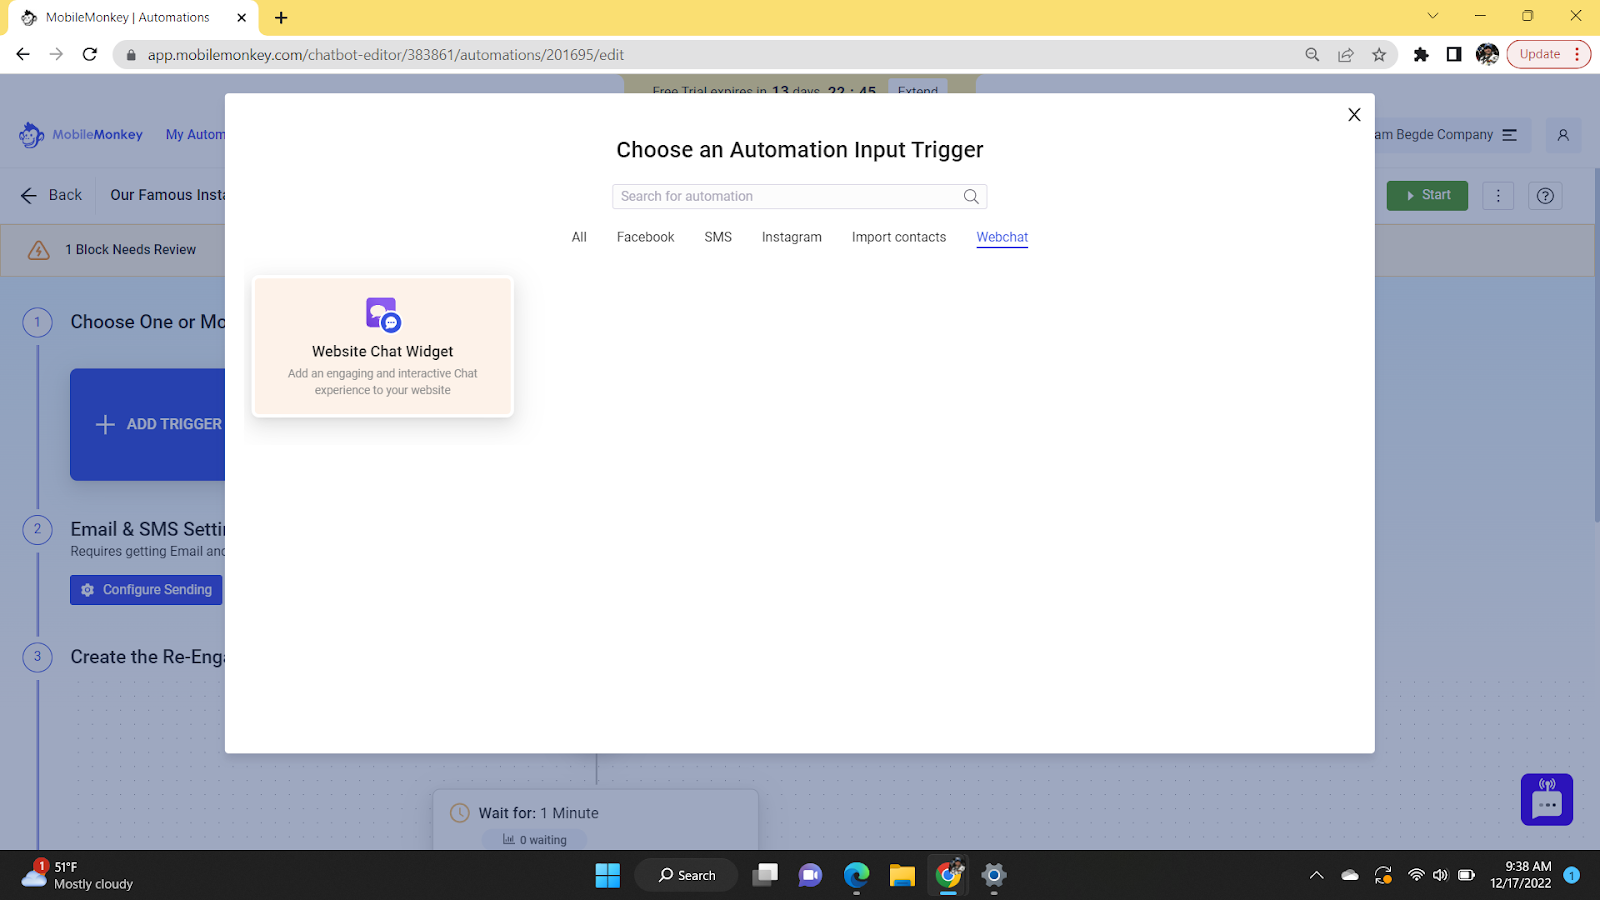
We can add a Website Chat Widget to our website

When you click “Let’s Go” on the above page, it directs you to the “Website Widget Page” to install Website Chat.

This page provides options to install Website Chat as one of the below:
- Support both Facebook Messenger & Webchat
- Support only Facebook Messenger
- Support only webchat
The page also provides specific installation steps for various website editors such as WordPress, WIX, Shopify, SquareSpace, Weebly to name a few
The page also provides code which can be directly copied on the HTML page where webchat needs to be installed.
The website that I wish to install this chatbot on is hosted on WordPress and so I clicked on the WordPress Web Editor Option. This opens up a zone with steps to install a chat widget on your WordPress hosted website.
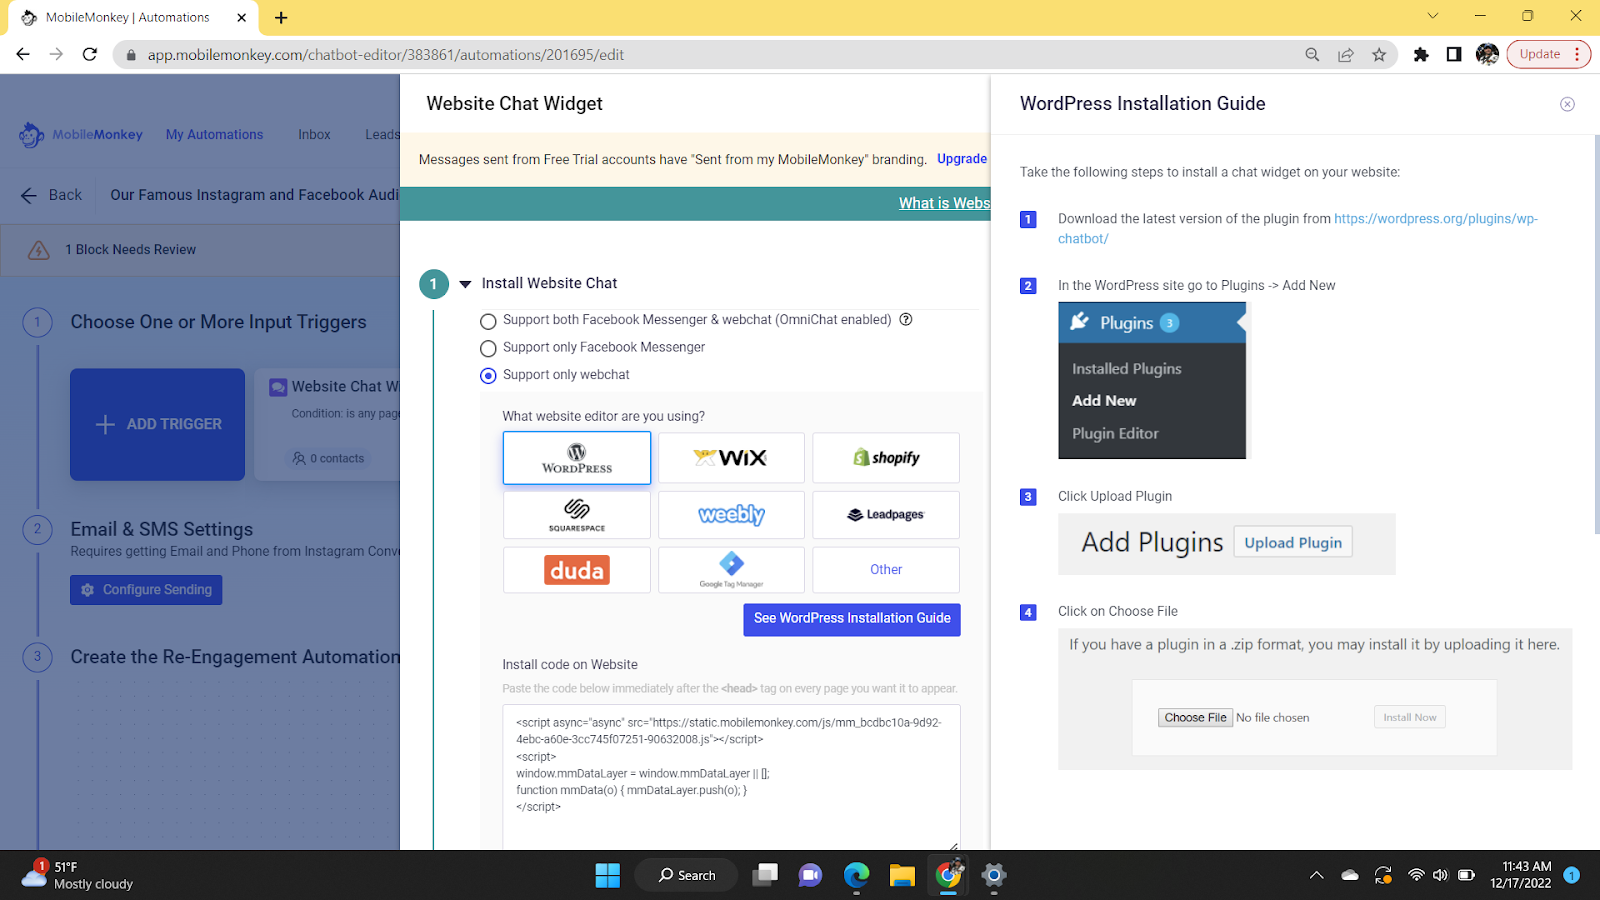
Follow the instructions provided. Essentially you need to download the “WP-Chatbot for Messenger” plug-in and install the downloaded plug-in using your WordPress Admin account. You also need to activate the plug-in.
The WordPresss plug-in expects integration with a Facebook account.

Once the integration is complete, you will notice the below message on the WordPress Admin Page:
All set! The chat widget is now installed on your website.
Go back to MobileMonkey to activate it.

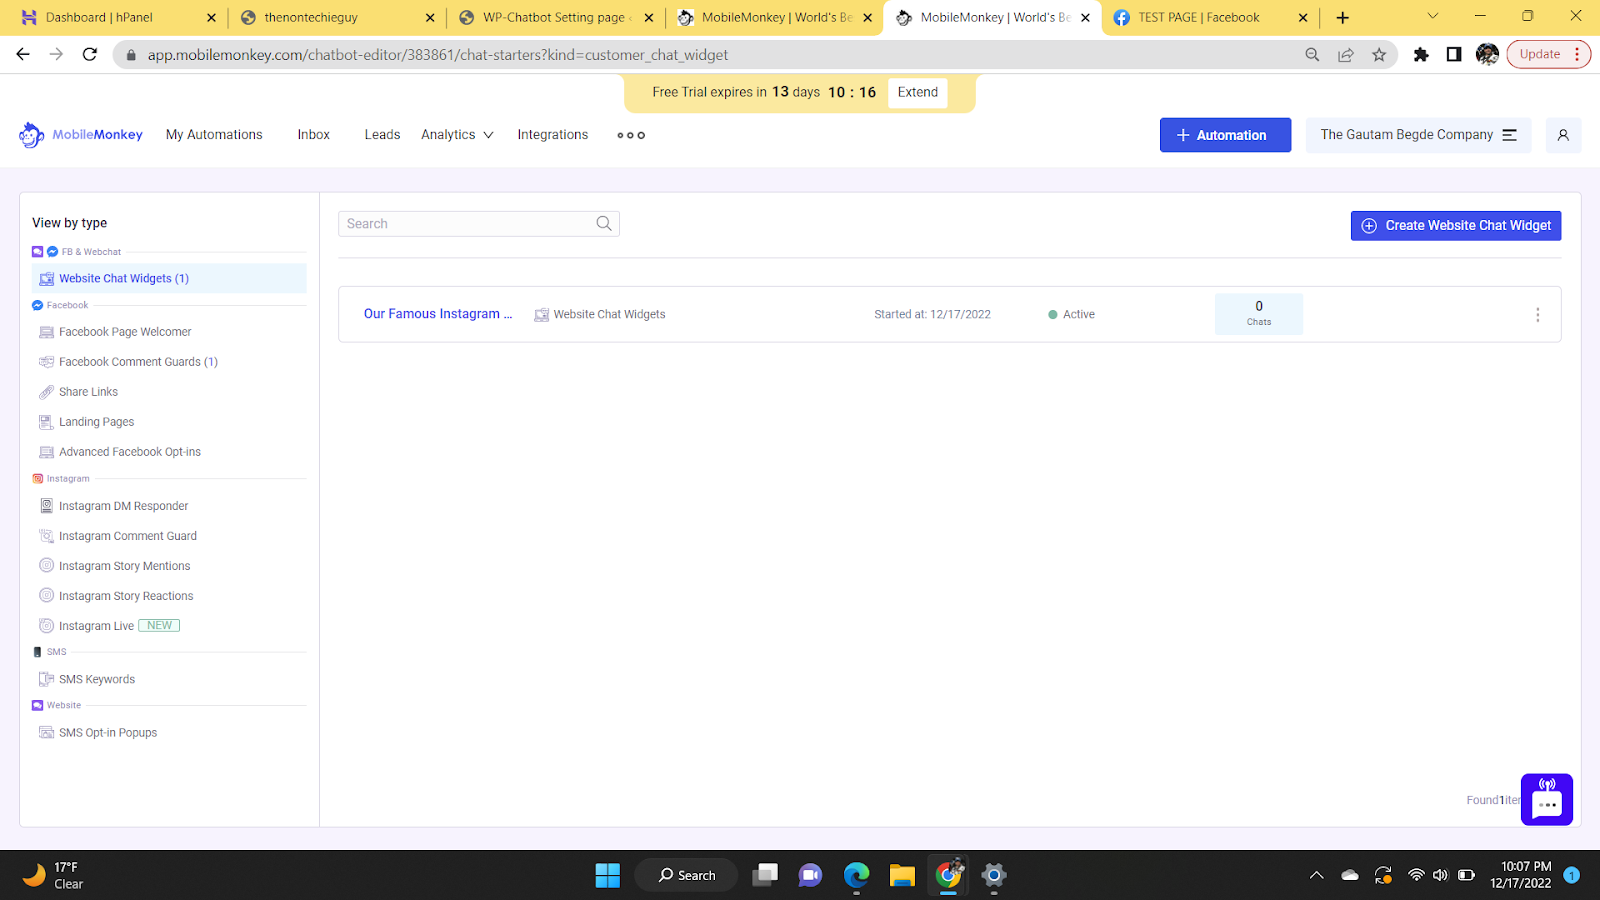
Next you need to navigate to MobileMonkey page to activate the chatbot on the website.
You will notice that webchat is now visible on your website:

You can additionally customize the Web Chat Settings by clicking “Customize WebChat”

The options to update are as below:
- Install Website Chat
- Edit Chat Dialogue
- Edit Chat Icon & Greeting
- Edit DIsplay Rules
- Troubleshooting

Closing Remarks: Setup of chatbot using MobileMonkey is fairly straight-forward using the various marketing related templates available out of the box.